After testing the solenoid for many cycles, there is little heat generated in the coil and plunger. It all depends on the actual solenoid, but with the pulsing, the solenoid is only energized a fraction of the time. The optional diode across the solenoid's coil is sometimes called a snubber diode and is beneficial to the circuit. For any motor, light, component, or solenoid, always allow for air to circulate freely around these potentially warm parts. I always like to check these things regularly for signs of heating. If you tend to leave these projects activated unattended, it is best to mount them in metal and keep any warm component away from combustible materials. A timing circuit that limits its use, instead of being constantly moving, will extend the life of the project and avoid over-heating issues.
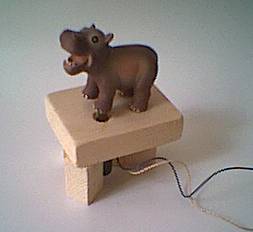
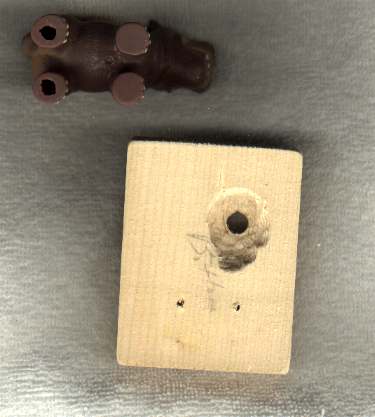
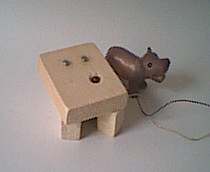
Having a surface-mounted animation is easier to install and repair, as compared to one that is recessed into the layout's surface. For this project, only a small hole needs to be drilled in the plywood surface. Like with the lions and elephant bath scene, some extra lighting, like footlights, will help greatly.
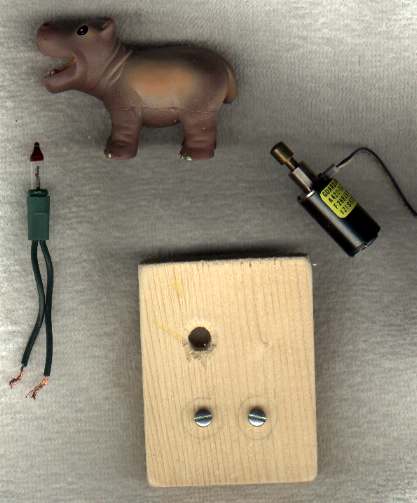
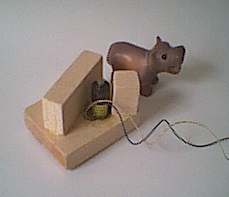
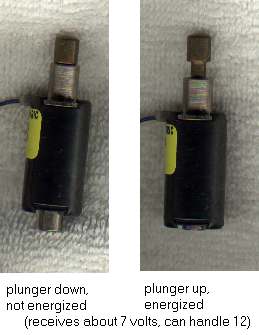
This project took only minutes to construct and there was little tinkering. The solenoid has what is called a captive plunger and it doesn't need a spring since gravity will return it to the "down" position. It is a "push-type" solenoid meaning that the plunger is pushed away rather than pulled down. For the kangaroo and girl jumping rope animation, the solenoid is a "pull-type" and needs a spring, which was homemade in both projects, perhaps the hardest part was making the spring from scrap wire. With the push-type solenoid, the project is much simpler. In time I will convert the other projects to the push-type if the solenoids wear out.
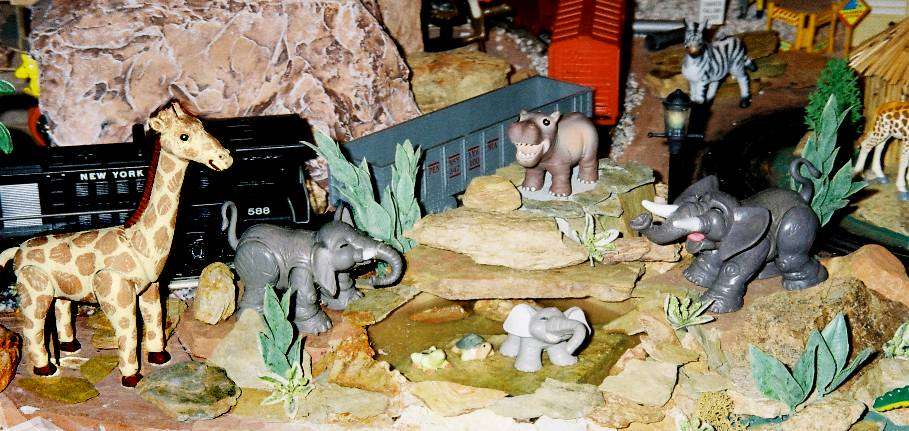
Instead of papier mache for covering the base and blocks, I might just use real rocks and rock slivers piled up around the base, after painting the bare wood in rock-like colors, a mottled look. Clear Christmas tree lights can be placed among the rocks for up-lighting effects, just like in real landscaping. Just be sure to keep the bare bulbs out of sight. Lichen or other vegetation always helps to achieve a natural look. The craft stores offer many types of artificial foliage. Look for greenery that has very small leaves and cut the smaller sprigs off of the larger bunch for use among the rocks.
The flashing bulb will be placed near the power supply under the layout and positioned for easy changing. I have accumulated many of these bulbs over the years since most light sets supply one or two flashing spares. I have even bought a few cards of these flashing bulbs in different voltage ratings from 2.5, 3.5, 6, 7, and 12 volts. Placing a bit of electrical tape over the bulb will conceal its light and alter the blinking/pulsing cycle. These bulbs will blink differently when cold. Wrapping the bulb with electrical tape will make the bulb retain more warmth. Test several bulbs since they sometimes vary in their blinking, even within a particular voltage range. I use this technique in several places on the layout, even to pulse a relay, and the bulbs are surprisingly robust.